It may have escaped your attention, but it is now possible to insert 3D models into Office documents. The feature is available to Office 365 subscribers and to anyone who has the 2019 or 2021 Desktop versions of MS Office and it allows the easy insertion of 3D models into any PowerPoint, Word, or Excel file.
Key Features of 3D Models
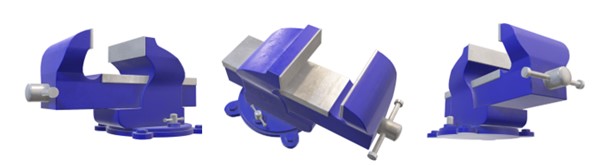
- 3D objects can be moved and resized in the same way as images, but can also be rotated along 3 different axes using a very simple control.
- 3D models can be animated within PowerPoint using aminations like Turntable, Swing and Jump & Turn
- If the same 3D object is used on consecutive slides in PowerPoint and combined with a Morph transition, the object is animated in 3D.
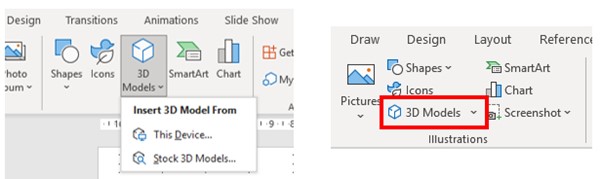
It is very easy to get a 3D model into your Word Document, PowerPoint Presentation or Excel Workbook. On the Ribbon at the top of any of the applications, simply click on the Insert tab and look for the Illustrations group, which is on the left-hand side of the Tab.
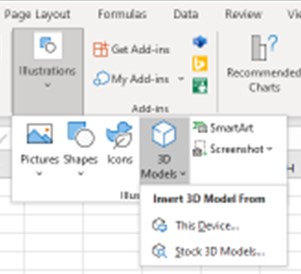
Although the Illustrations group is configured slightly differently, in Word, Excel and PowerPoint, this is always where you will find the 3D Model command.
Once the 3D object is inserted, manipulate the built-in tools to allow you to easily rotate, flip, spin, pan, and zoom for ideal placement.
3D Models in PowerPoint
Since you are most likely to use 3D Models in PowerPoint, we will concentrate on that, but inserting and manipulating 3D models in any of the other Office programmes will work in exactly the same way. Just follow the same steps that you would use to insert photos or videos in PowerPoint. Go to Insert → Select 3D Models and from the drop-down menu, choose how you want to insert a 3D file.
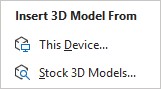
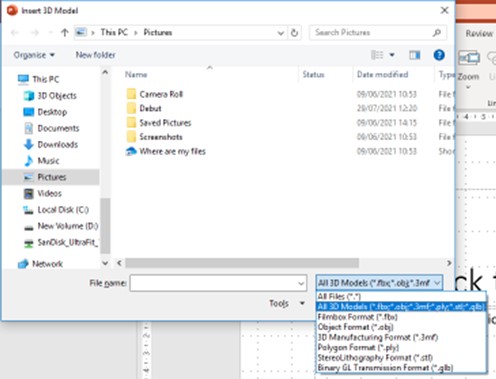
If you already have a 3D model that you have created or downloaded, then you can use the This Device option. A number of different 3D file formats can be inserted into PowerPoint slide. Just select the format that your 3D model is in.
If you don’t have an existing 3D Model, then you can opt for the Stock 3D Models command, where there are many options of pre-existing models. You can even search for exactly what you want.

Once the 3D model is inserted, rotate the model to the angle that you wish it to appear on the slide. This is done by clicking on the 3D model itself, which will cause a 3D rotation control to appear at the object’s centre, which can then be used to rotate the object as you wish. You can still use the normal rotation handle at the top of the object to rotate your image clockwise or counter-clockwise, but you’ll get a much better experience using the 3D rotation control.
Any 3D object can be moved, resized and aligned just like a normal picture, shape, icon or any object that is normally inserted into a PowerPoint slide. It isn’t yet possible to edit the 3D models themselves within PowerPoint, but if you have Paint 3D, it can be done with this programme.
When a 3D model is selected a 3D Model contextual tab appears on the Ribbon.

This includes options to reset the model, switch it to set views and arrange it relative to other objects on the slide. There are also controls for sizing the object including Pan and Zoom.
3D objects are very easily inserted into Slides and have multiple uses.
0 Responses to “Easy 3D Models in PowerPoint, Word and Excel”
Leave a Reply