After much extensive research on Twitter, we worked out that the most used hashtag for PowerPoint was #dosanddonts. It was apparent that a lot of people wanted advice on how to produce a great PowerPoint but didn’t know how to keep it interesting and not too full on at the same time. So here are our best suggestions.
#DONTS
Minimal might be fashionable, however, no one likes a boring presentation. Creating something interesting is key, so make sure you avoid something like this at all costs.
There is nothing worse than black and white for a PowerPoint. It’s important to use the right colours so that it is eye catching and bold. Imagine that every slide is a billboard advertisement. It’s also crucial that you pick the right fonts, design, and layout. No one can take Comic Sans seriously and Times New Roman is is old and boring.

There is nothing more annoying than something that is loud and in your face, so imagine reading a PowerPoint that had that effect. It can put a reader off instantly. Also, make sure that is doesn’t look childish. If it’s for business purposes, then it’s important to keep it looking professional and not look like a child has created it. Something that is definitely a big mistake, is writing too much information on one page so the audience has too much to read. Space your text out across multiple pages, let your PowerPoint ‘breathe’. Bullet points are great at creating easy reading.

#DOS
Its difficult to say what is a good PowerPoint presentation depending on what it is being used for, However, if it’s for profession business purposes then its easy to pick out what makes it look appealing.

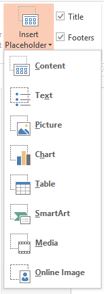
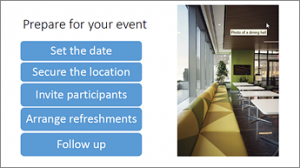
It does look more visually appealing if the fonts are matching and there aren’t a lot of different styles. It can also help if the layout is simple and not to busy; you don’t want distract the audience from what you’re trying to promote. They say a picture is worth a thousand words, so grab the audience’s attention and say what you want with an image instead of lots of paragraphs.
We hope this Tip helped, for anymore questions for may have you can drop us a message on Facebook or Twitter.

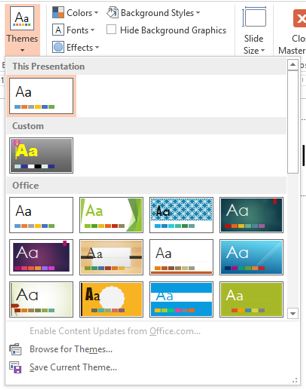 colorful theme and add special fonts and effects, or click Themes, and choose a theme from the gallery. Use the scroll-bar on the right to see more themes.