Want to stop wasting time on tedious, repetitive tasks? Maybe it’s time to try Power Automate! Read on for our guided tour and an example to get you started.
Microsoft Power Automate does what it says on the tin. It lets you automate things. It even enables you to automate almost anything without coding, making it far easier to pick up and learn. Moreover, it’s free for all windows 10 and 11 users!
It can use your favourite applications to synchronise files, collect data, send reminders and emails or anything else that tempts your imagination. It even has pre-built automation templates for standard processes that are customisable to suit your needs better.
Power Automate was previously known as Microsoft Flow, and it comes in two types:
- Part of Office 365 – accessible if you have an Office subscription.
- Power Automate Desktop – a desktop application that integrates with Office 365 and is accessible even if you do not have a paid Office subscription.
Paid subscription or non-paid subscription, you won’t be missing out on what Microsoft Power Automate has to offer.
Taking just a little time to learn how to automate business processes using this app will save you time, speed up work and reduce costs.
Power Automate
There are two main components for Power Automate; the Console and the Flow Designer.
Power Automate Console
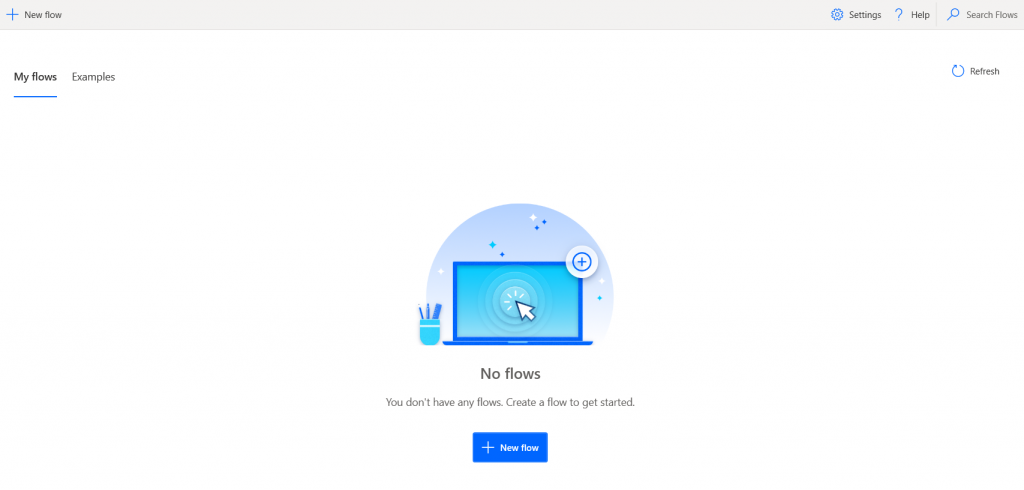
The Console is the first thing you will see when you open Microsoft Power Automate Desktop. To start with, it will be empty, but new flows will be stored and accessed here.
There are options here to change settings and to access Help and documentation, but most important are the options to manage existing flows and add a new flow.
Power Automate Flow Designer
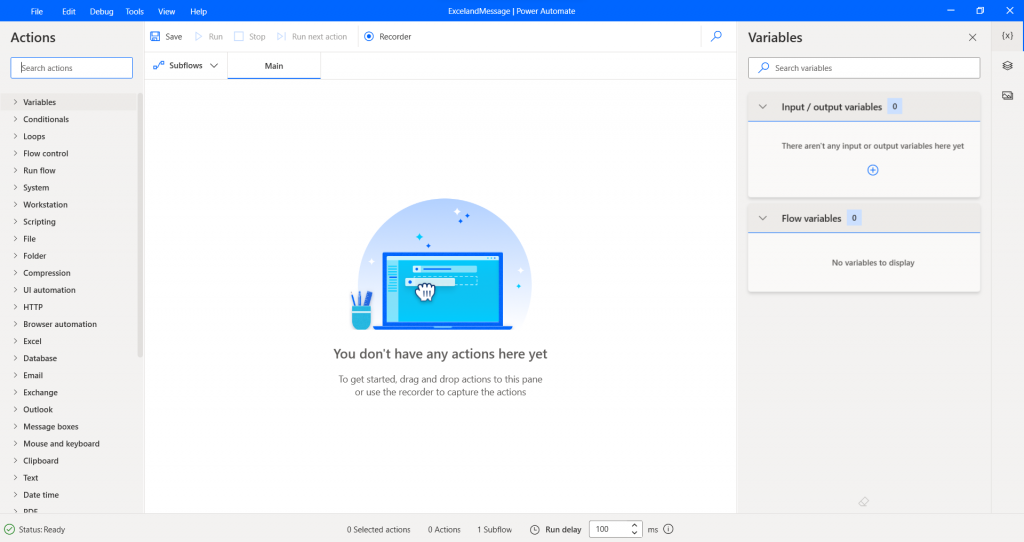
The flow designer will appear when you are creating a new flow or editing an existing flow.
You can think of flows as a series of actions that run sequentially in the order you supply. They can be programmed to make decisions using conditionals or loops that will repeat the same actions several times.
Flow Designer: Actions
At the top left-hand corner of the Flow Designer, you will see a bar named ‘Actions’.
This area lists all the actions that Power Automate can perform, including working with files and folders, text, emails and even specific applications such as Excel.
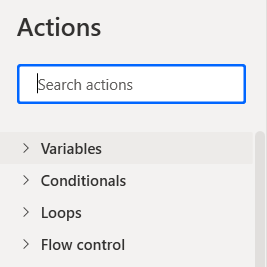
Power Automate has the actions in categories, which expand by clicking the arrow next to each category, or it’s possible to search for a specific action in the search bar at the top of the action pane.
To add an action to your flow, you can either double-click it or drag and drop it onto the main working area.
Power Automate can automate highly complex sets of actions, but it is also quick and straightforward to create these automations.
For instance, we can create a flow to open Excel, display a box with a custom message and close Excel with minimal effort, as shown in the example below.
Example: Open Excel, display a box with a custom message and close Excel
1. Download and install Power Automate
The first step is downloading and installing Power Automate, which can be found here.
If you’ve somehow managed to avoid creating a Microsoft account, you may need to sign up for one before getting started. However, this is free, and you can use a preexisting email account. For example, an Outlook.com, hotmail.com, live.com, or msn.com account should work.
2. Create a New Flow in the Power Automate Console
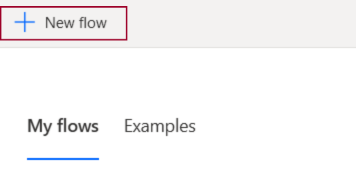
To create a new flow, simply click on the “+ New Flow” button at the top left of the screen.
Power Automate will ask you to provide a name for the flow.
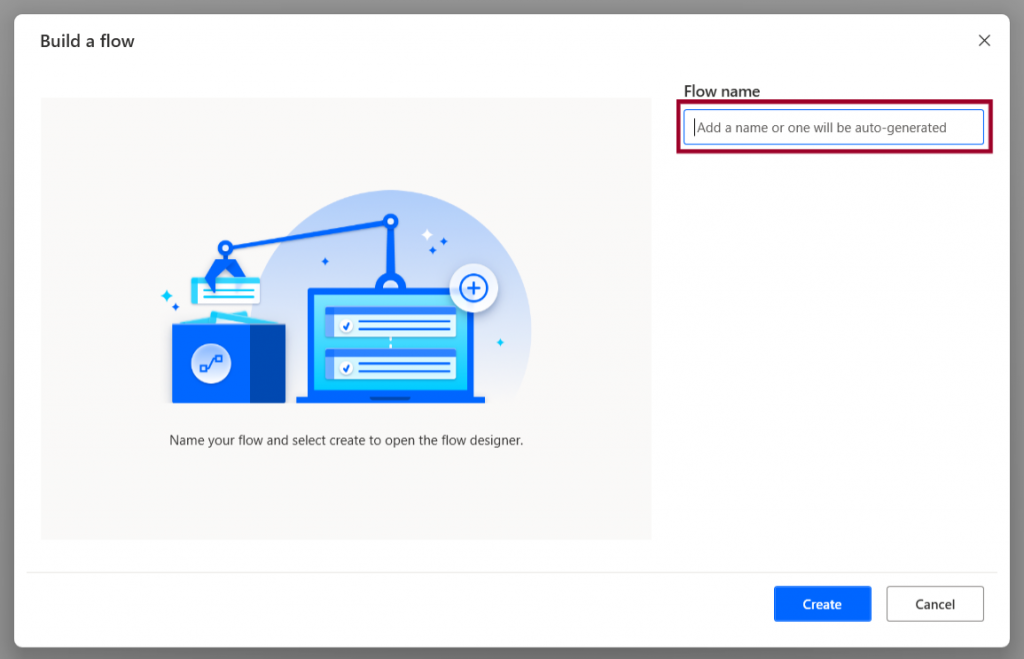
Decide on a name for the new flow and click “Create“. In this case, we have named it “ExcelandMessage“.
3. Launch Excel Action
The next step is to locate the “Excel” actions in the Action list and expand the category.
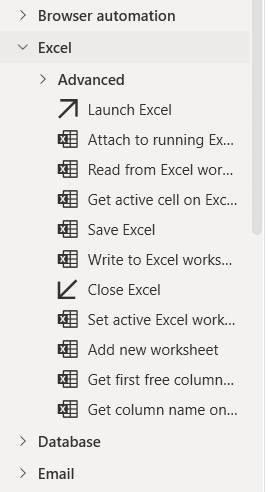
Double-clicking or dragging the “Launch Excel” action to the main working area will launch the dialogue box window with options to open a new, blank Excel document or an existing one.
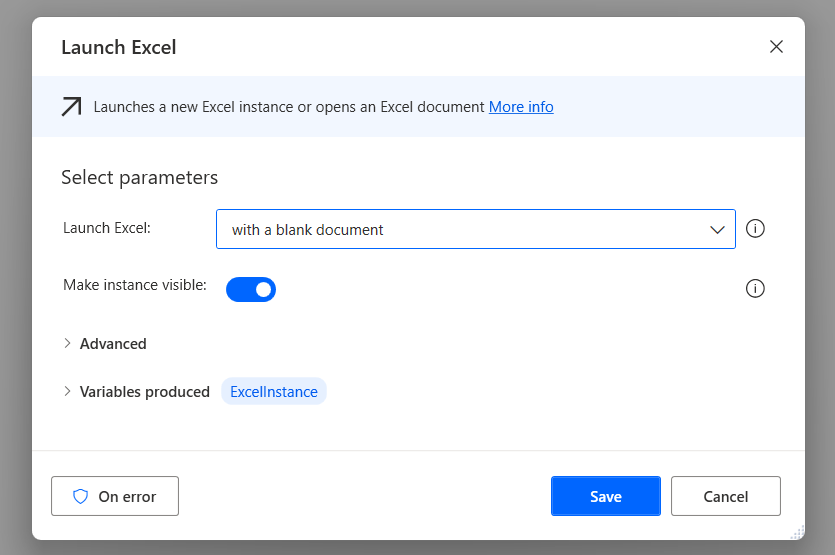
We can change other options, but we will leave everything in the default setting.
4. Create Dialogue Box After Excel Launches
Next, we can expand the Message Boxes category in Actions and drag the ‘Display Message‘ action into the working area.
Again, a dialogue box is displayed that lets us enter the message box title and the message to display, along with other options.
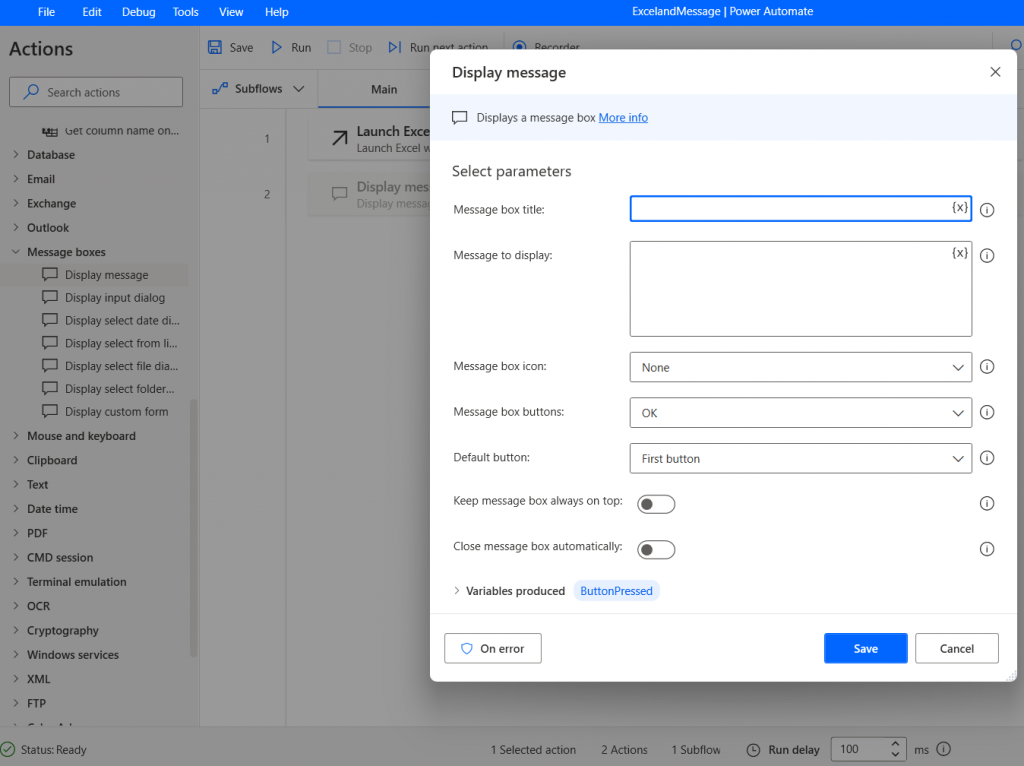
In this case, we have set the Message box title to “Excel Message“, the message to display to “You just launched Excel with Power Automate“, and save this action
5. Close Excel Action
Similarly to launching Excel, we locate Excel actions and expand the category but this time, select the “Close Excel” action.
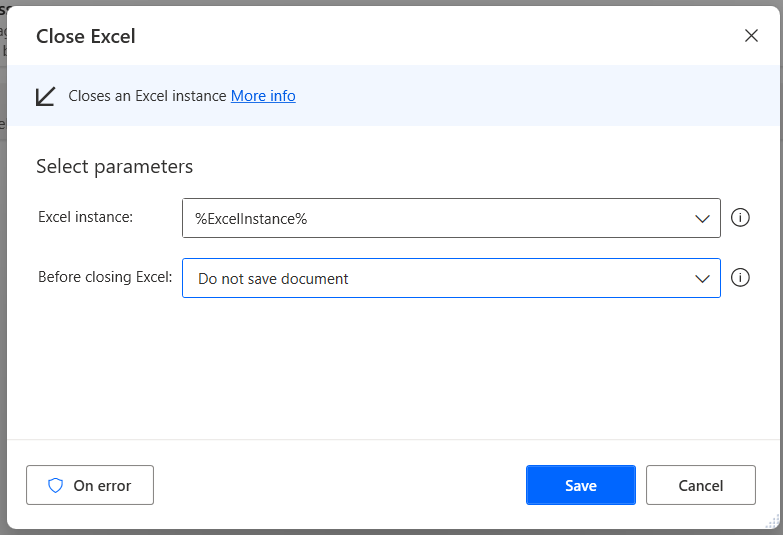
Again, we have the option of whether or not the document should be saved.
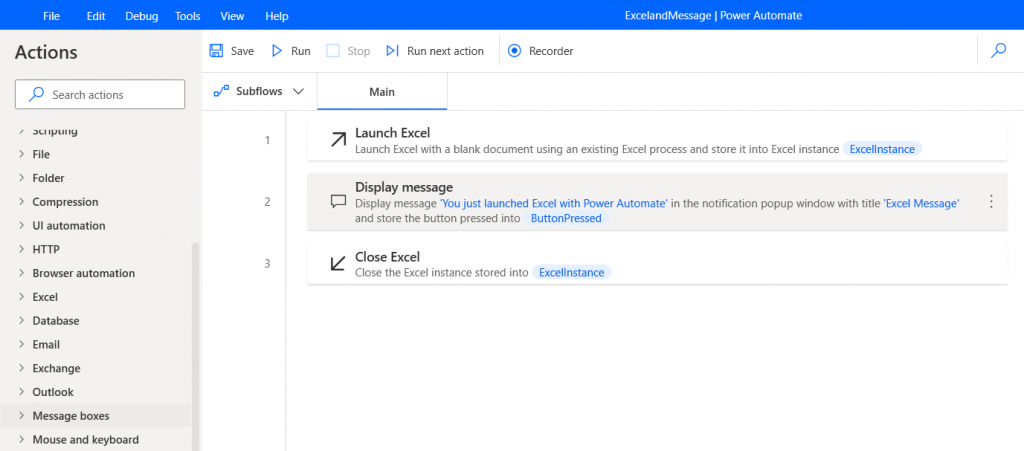
The completed flow looks like this:
6. Save and Run the Automation
With all this done, we can save the flow and close it to return to the Power Automate console.
Here we can see our newly created flow (it is possible to run a flow whilst still in the flow designer, at any stage, to test it).
We can run the newly created flow just by clicking on the ‘play’ button. Excel opens, and the message box is displayed.
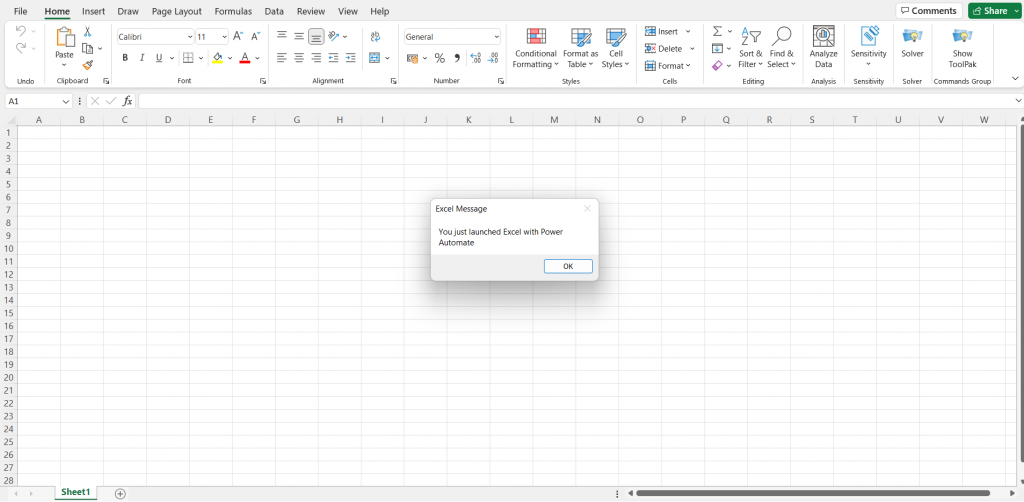
On pressing the ‘OK’ button, Power Automate runs the last action and closes Excel.
In addition to all the built-in actions, Power Automate allows you to record yourself performing any task in Windows and use this as a Flow or use the recording as part of a flow using built-in actions.
Microsoft has an online Learning Path to get you started with Power Automate, and you can find it here.