Data is a major part of life, but how do we manage it? Most use Excel, some use Access. Both have their similarities. So Access vs Excel, which should we choose?
Contents
To jump right in, both programs can store large amounts of data, run powerful queries and perform sophisticated calculations to return the desired results.
To put things extremely simply, you use Excel for data analysis and Access for data management.
Still, if we want to know which piece of software, specifically, might be helpful for our particular needs, it’s useful to look at the benefits of both programmes.
(Note: All Microsoft Office suites include Excel, but not all suites include Access.)
1. Access vs Excel: Advantages
1.1 Advantages of Excel
Excel is a spreadsheet programme and one of the most used applications in the world, with many benefits of use:
1. Easy to Learn: Excel takes relatively little time and effort to learn. Although Excel has many advanced functions that take longer to master, you can quickly pick up the fundamentals.
2. Data Visualisation Capabilities: Excel has an incredible number of options for visualising data, including PivotTables, graphs and charts, which you can customise however you wish.
3. Formulas and Functions: Excel formulas can do almost anything, from simple numeric calculations to very complex analyses.
4. Flexibility: Although designed for Data analysis, Excel can be (and has been) used for almost any task
(Follow this link for our beginner’s guide to Excel)
1.2 Advantages of Access:
Access is a Microsoft database management system (DBMS) used for both small and large databases.
1. Relational Database: Access allows you to relate data in one table to data in different tables. Information can be stored in one table and referenced in another.
(NB: It is also possible to have a relational database model in Excel, but this involves using Excel’s more advanced functionality.)
2. Reporting Capabilities: Access has possibly the best report-generating capabilities of any of the members of the Microsoft Office suite.
3. Storage Capacity: Access is built to handle enormous amounts of data as a database system. It can also differentiate between different types of data.
4. Data Validation: Access allows you to check or validate data in your databases as you enter it by using validation rules.
To decide if Access or Excel is best for your needs, you can consider the following questions:
5. Flat versus relational data: Is your data relational? Data contained in a single table or worksheet is called flat or nonrelational data. In a relational database, you organise your information into multiple tables.
6. Local versus external data: You can use Access to connect to data from various external data sources to view, query, and edit that data without having to import it. You can also use Excel to connect to multiple data sources (including Access), but you cannot edit the source data through the Excel user interface.
7. Data integrity versus flexibility: Access requires unique identifiers within any Table, which help preserve the integrity of your data and which are used to relate records in one table to records in another. Excel lets you enter data more freely, although it is possible to control data entry using the Data Validation command.
8. Multi-user collaboration: Access lets multiple users open a single database simultaneously because it locks only the data that another user is editing. In Excel, you can share a workbook with other users, but collaboration works best when users work on data at different times, not simultaneously.
You can also ask which data analysis tools would best suit your purpose:
9. Querying: Access allows the creation of complex queries to view your data in various ways, retrieving only the rows and columns of data you want, whether the data is contained in one or many tables.
10. Modelling? Excel has what-if analysis tools that allow you to run different scenarios on your data, such as best-case and worst-case scenarios. No similar feature is available in Access.
11. Pivoting and charting? Excel provides PivotTable reporting and advanced charting features. Although Access can produce pivoted (Crosstab) reports and has some charts available, they are not as sophisticated as those in Excel.
(Follow this link for our beginner’s guide to Access)
2. Access vs Excel: When to Use Them
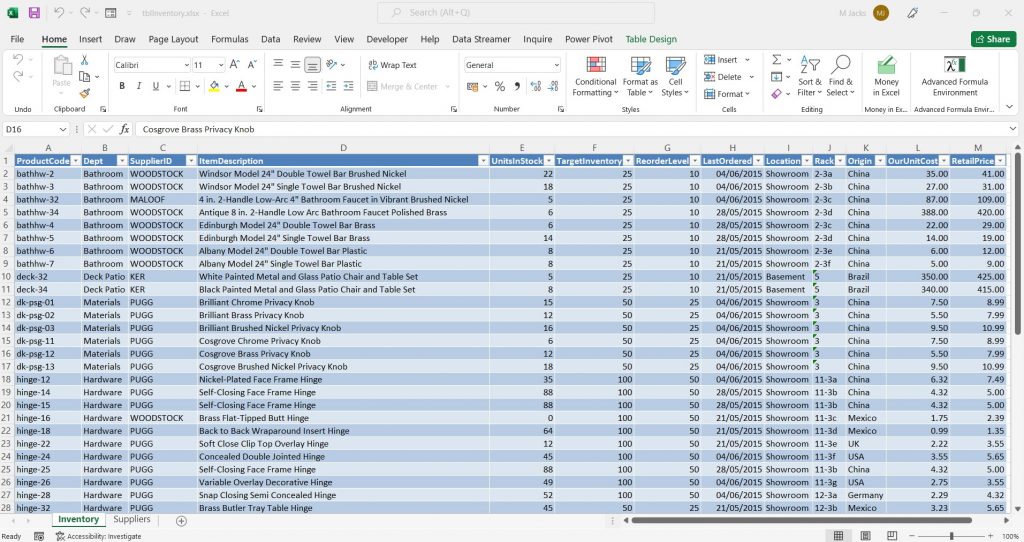
2.1 When to use Excel
Excel is incredibly flexible and can store data like Access, but is optimised for data analysis and calculation. Use Excel when you:
- Only need a flat or nonrelational view of your data.
- Run calculations and statistical analysis.
- Want to use PivotTable reports.
- Create charts regularly.
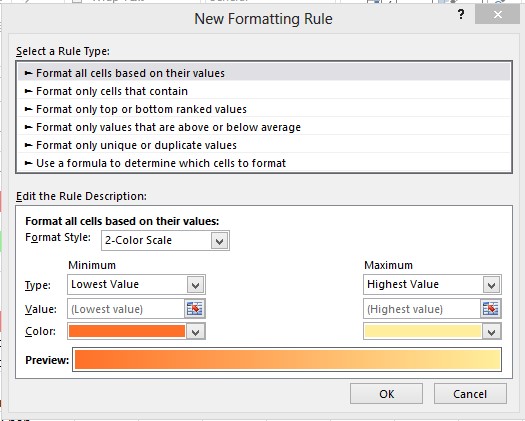
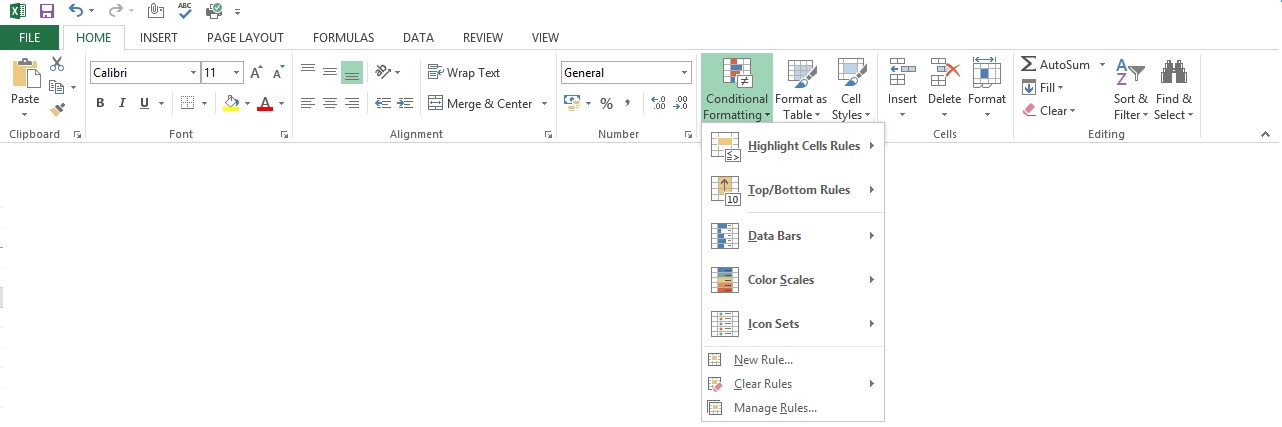
- Want options to emphasise your data, like conditional formatting icons, data bars, and colour scales.
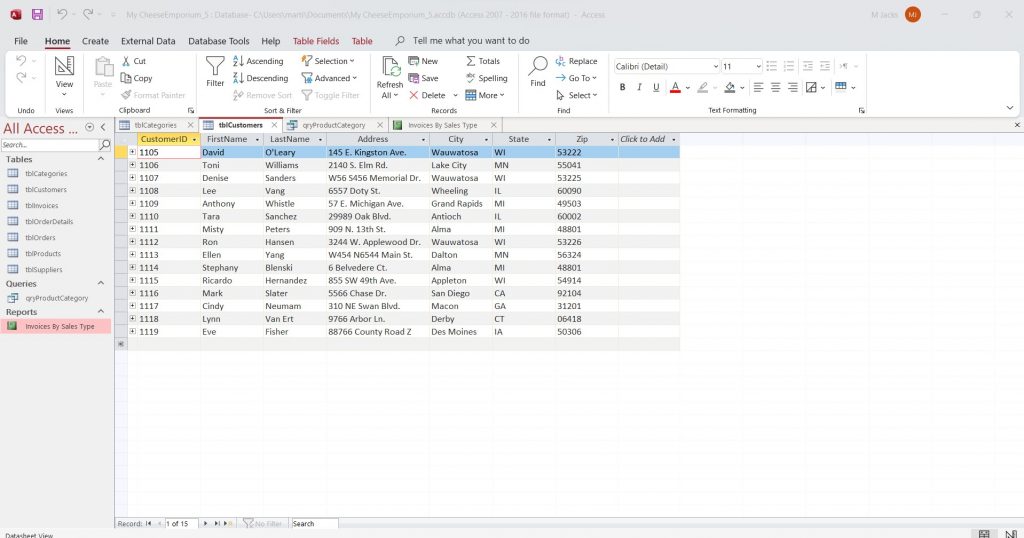
2.2 When to use Access
Very generally, Access is the best choice when you track and record data regularly, and need to export or produce reports for subsets of that data. Use Access when you:
- Have multiple users.
- Will be adding more tables to a data set.
- Want to run complex queries.
- Want the ability to produce complex reports.
3. Using Access and Excel together
Of course, it is not necessarily an either/or choice. There may be times when it makes sense to take advantage of both programs’ benefits. It does not matter which program you have used first. There are built-in tools to bring data into Access from Excel (and vice versa) by copying, importing, or exporting it.
If you use Access to store your data and Excel to analyse it, you can benefit from both of these excellent pieces of software.
If you would like to learn more about either software, we provide certified training courses tailored to you and your requirements. Get in touch with us today for a free, no-obligation consultation.


