Archive for the 'Microsoft Word Tips' Category

Microsoft Word Tip: New Years Resolutions

With a New Year lurking around the corner, it’s around that time when people start to make New Years Resolutions, So here’s how you can use Microsoft Word to assist your goals.


Microsoft has features so that you can bullet point everything that you would like to accomplish, you can also highlight and underscore important sentences. By using Word you can also print out your document so you can tick things off and have it as a reminder to yourself.

Here’s a rough idea… media


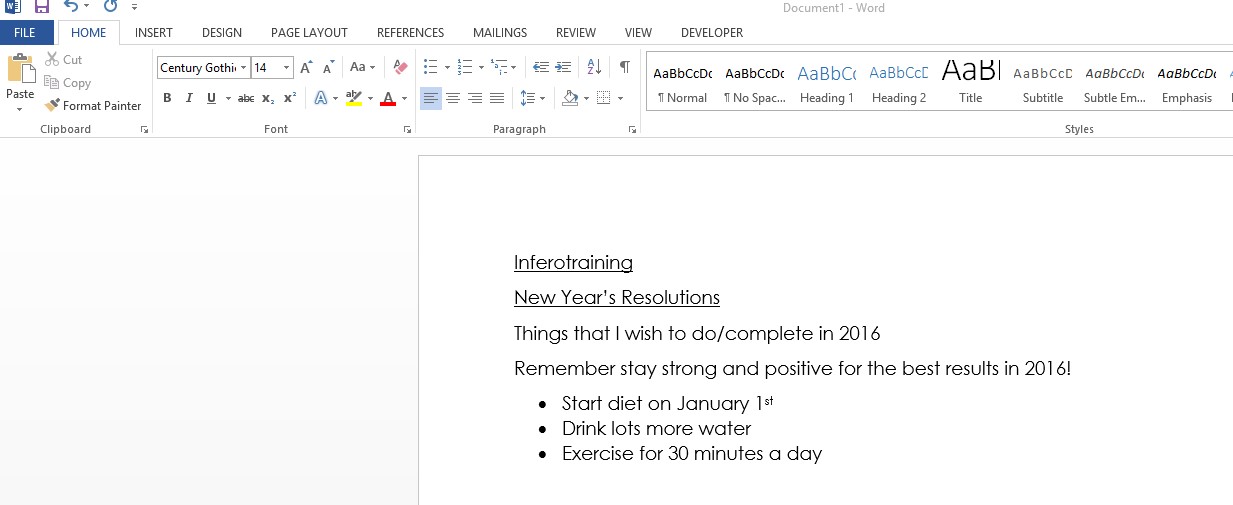
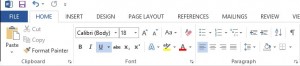
To be able to create bullet points, select the text you would like to change and just simply click Home and then click the 3 dots to access the bullet point tool.

gnf


We hope you found this helpful and that you have a wonderful New Year.

Microsoft Word Tips : Table of Contents

TImagine you’re working with a really long document in Microsoft Word, like an academic paper or a big report. Depending on the project, it might be dozens or even hundreds of pages long! When a document is this large, it can be difficult to remember which page has what information. Fortunately, Word allows you to insert a table of contents, making it easy to organize and navigate your document.

A table of contents is just like the list of chapters at the beginning of a book. It lists each section in the document and the page number where that section begins.

You could create a table of contents manually—typing the section names and page numbers—but it would take a lot of work. And if you ever decide to rearrange your sections or add more information, you’ll have to update everything all over again. However, with the right formatting, Word can create and update a table of contents automatically.

We’ll use Word 2013 to show you how to create a table of contents, but you can use the exact same method in Word 2010 or Word 2007.

Microsoft Word Tips: How to Select Text Vertically in Word

You probably get used to selecting text horizontally from left to right or right to left, for example, to format or copy it. For the left to right selection, click just before the beginning of a word, and while holding the mouse button down, drag to the end of the section that you want to highlight. For the right to left selection doing everything backwards achieves the same result.


But what if you want to select a text vertically, for example, to apply some formatting to the first 2 words in the text of each line as on a picture? Here’s a handy tip.


Microsoft Word 2007 Vertical Selection Before


You can select the text vertically. In order to do that, just hold down the <Alt> key on a keyboard whilst you are selecting the text as usually. You will get this result.


Microsoft Word 2007 Vertical Selection Highlighted


Now you can apply any formatting to it (here we selected Chicago font style).


Microsoft Word 2007 Vertical Selection After Formatting


Although in the example above we selected text at the beginning of the lines, you can make vertical selections anywhere on the page. It takes some practice to get use to but this handy tip can be used in Word 2007, 2010, and 2013.


Want more tips? Click on Microsoft Word Tips & Tricks

Microsoft Word Tips: Saving a Document in a Different Version


If you have an older version of Microsoft e.g. 2003 and you get sent a document from a newer version i.e. 2007 you won’t be able to open the file. If you don’t want this to happen there are two things that you can do.Microsoft Word 2007 Save As


  1. You can Upgrade to the newer version if you wish
  2. Or you can ask the sender to Save It In a Older Version and then send it back


If you want them to resend the document back to you in the 2003 version here’s how they can do it


  1. Click on the Office Button then go down to Save As
  2. Move your mouse onto the arrow next to Save As
  3. Choose the same version that you need (Word 97-2003 Document)
  4. Then click on Save


The sender can then send it to you in the format you can read.


Visit our Microsoft Word Tips page for more useful Tips 🙂

Microsoft Word Tips: How to continue numbering

Numbering in word is easy as 1, 2, 3! In word documents you are able to use either Bullet Points or Numbers to make text jump out of the page. As you can see below it makes a list easier to read and brings the reader in!
1.    Make a Blog Post
2.    Upload it  to the Blog
3.    Profit!!!


But what happens when you want to stop the list, type a paragraph and then continue where the previous list left off?


You get to your numbering section you need to go to the Home tab, Paragraph Group. And located at the top left of this group are the bullets and number command buttons.Numbering 1


To turn the Numbering on click on the Numbering Command button in this group and to turn it off you can click it again and this will turn off the number on that line.

If you want to then re-continue your numbering later in the document, repress the Numbering Command button.
Numbering 2

You will see next to the new number a Lightning Bolt icon, this icon is a menu that will either show you 1 of 2 options: Continue Numbering or Restart Numbering. Select the option that you need and carry on typing.

Microsoft Word Tips: Keyboard Shortcuts

Whilst using Microsoft Word, there are a number of keyboard shortcuts which you can use so that your attention isn’t taken away from the keyboard to use the mouse. Here are some of the most useful ones:

Bold text: Ctrl + B

Italic text: Ctrl + i

Underlined text: Ctrl + U

To bring up the thesaurus: Shift + F7

To undo any action such as typing etc: Ctrl + Z

Select all the text in the document: Ctrl + A

There are more available for viewing through the Microsoft Office Help Menu which can be accessed by pressing the F1 button and typing in the search bar: Keyboard Shortcuts and then selecting: Keyboard Shortcuts for Microsoft Word.